My Store
Eagle Biker Iron-On Embroidered Patch – Jacket, Vest & T-Shirt
Eagle Biker Iron-On Embroidered Patch – Jacket, Vest & T-Shirt
Couldn't load pickup availability
Command Respect Before You Even Rev the Engine
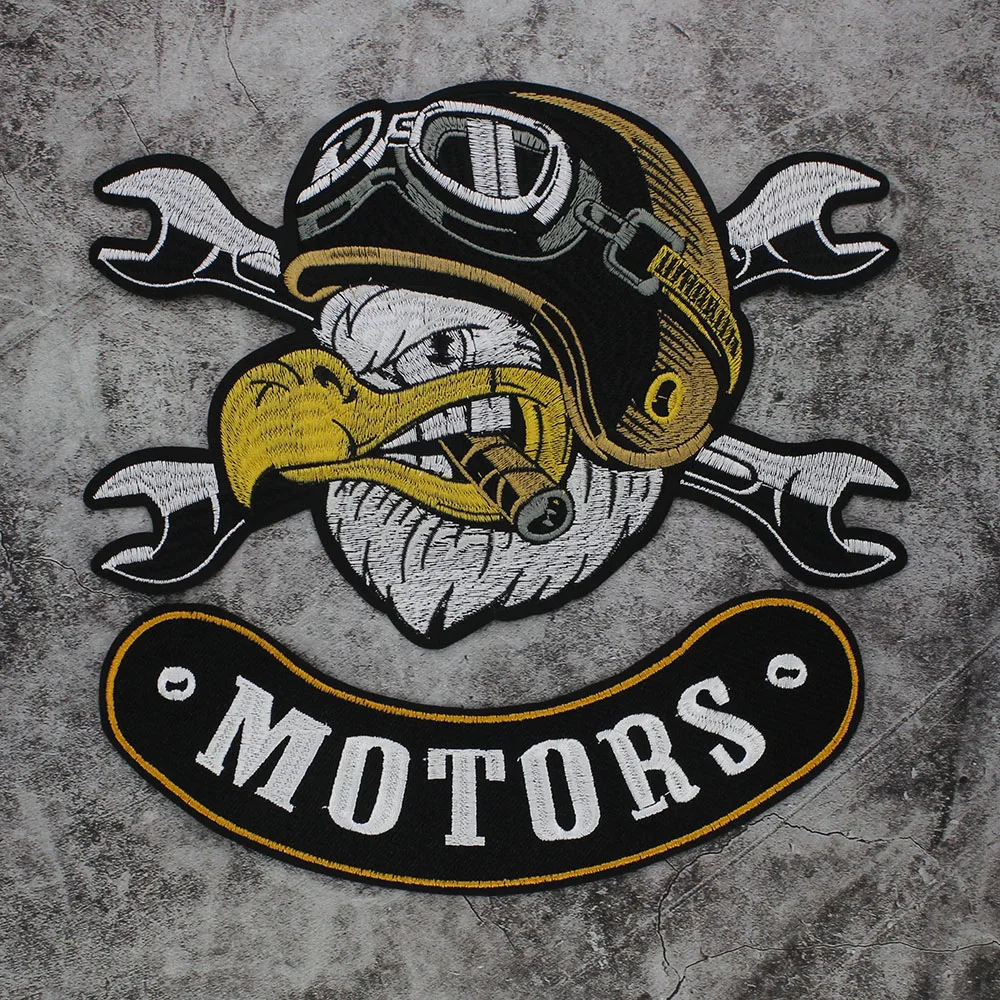
Bold, large-format, and impossible to ignore — this eagle biker iron-on embroidered patch is the statement piece your jacket, vest, or cut has been waiting for. Handcrafted with appliqué embroidery and a heat-activated iron-on backing, it bonds fast and looks like it was always meant to be there.
Why This Patch Stands Out
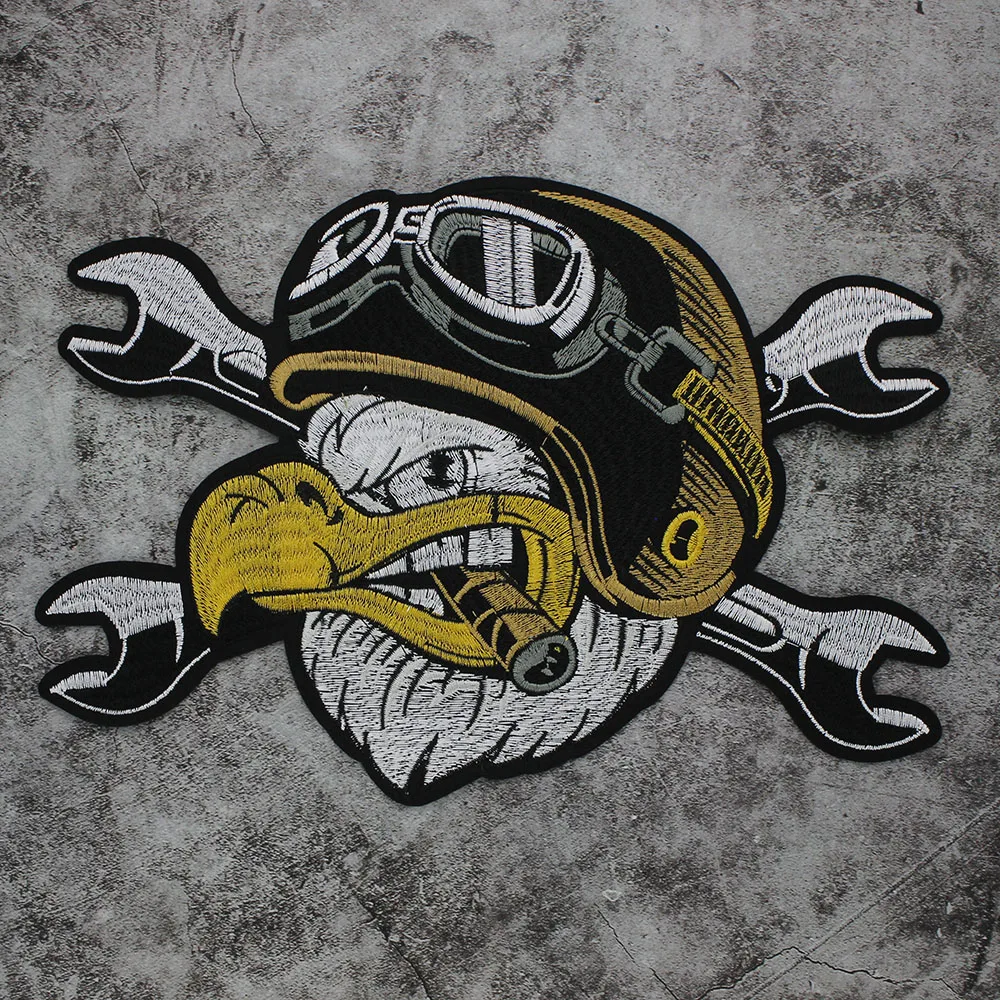
- 🦅 Large Eagle Design — Striking, full-spread eagle motif that dominates the back of any jacket or vest
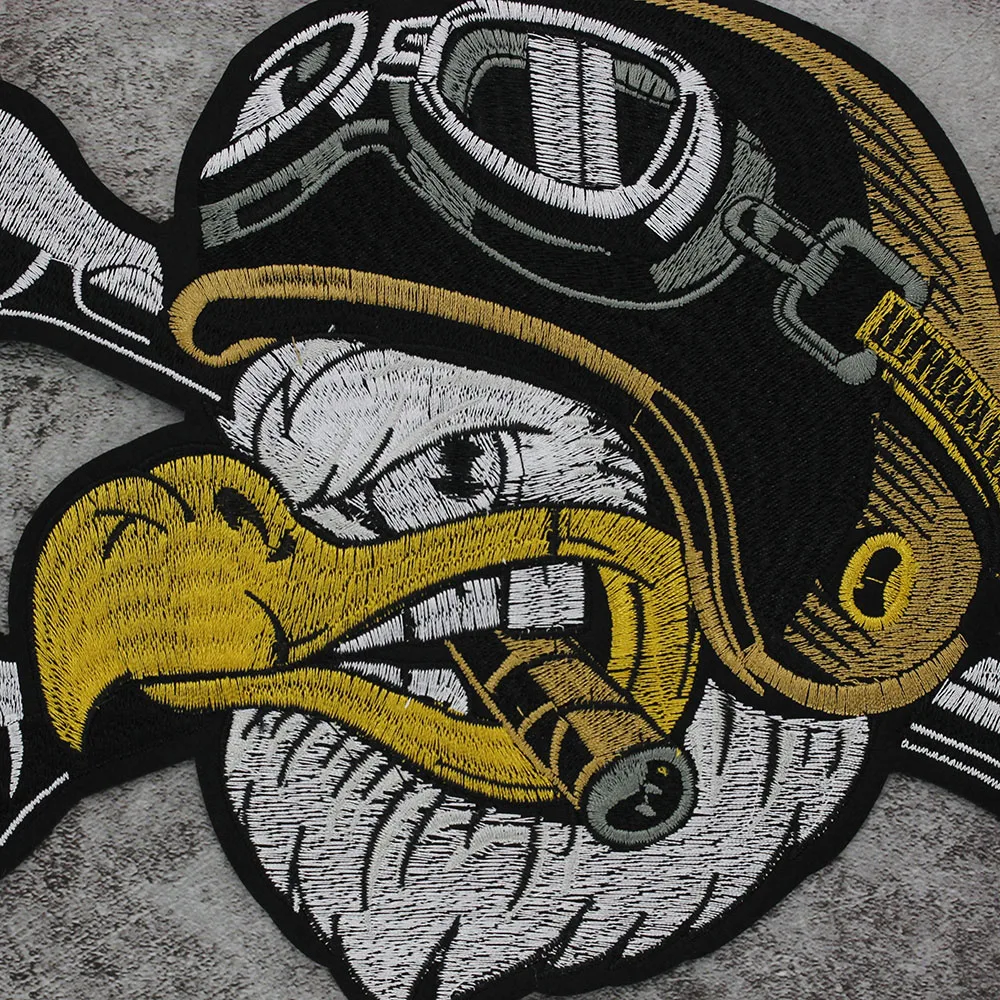
- 🧵 Handmade Appliqué Embroidery — Each patch is individually crafted for rich texture and vibrant multicolour detail
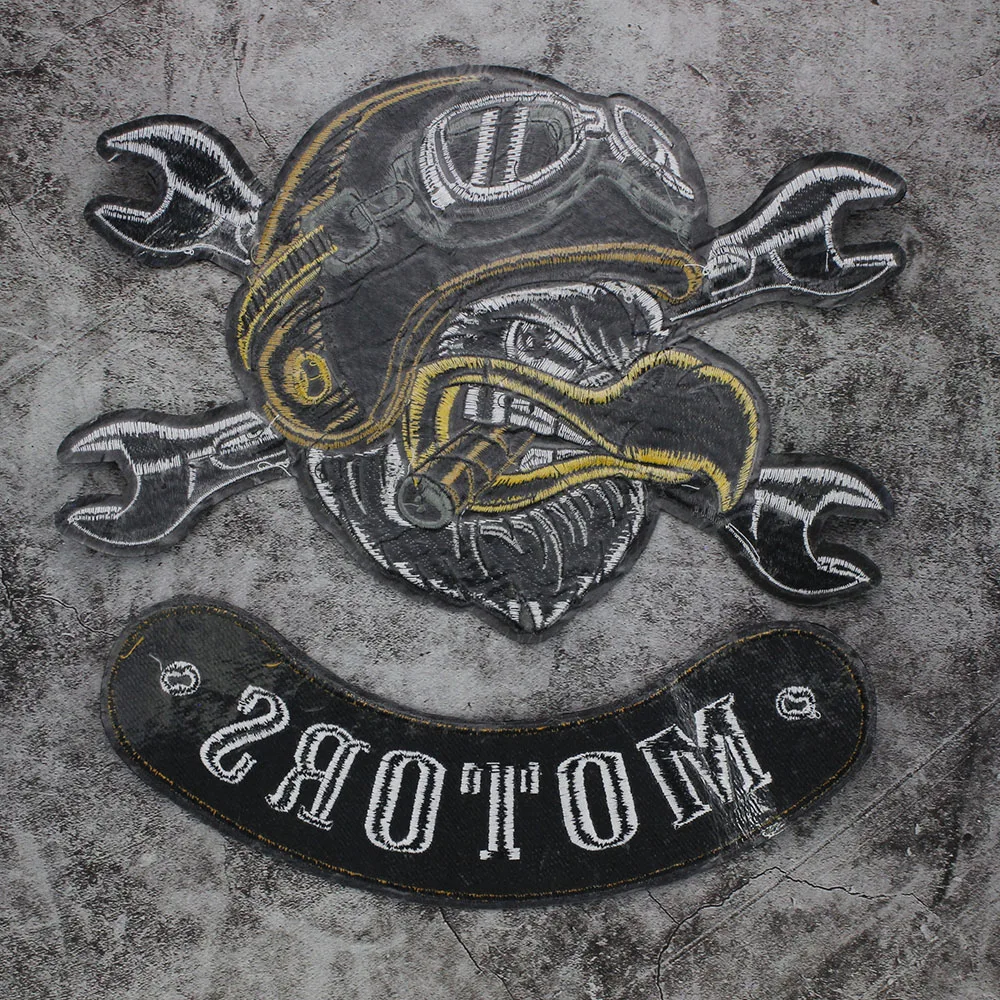
- 🔥 Iron-On Backing — Heat-activated adhesive bonds securely in under a minute — no sewing required
- ✂️ Sew-On Option — Stitch around the edges for a permanent, never-fall-off hold
- 📌 Versatile Placement — Perfect for jackets, vests, t-shirts, bags, hats, and more
- 🎨 2 Designs Available — Choose NO.1 or NO.2 to match your style
Made to Last, Built to Impress
This eagle biker patch is handmade with polyester appliqué, giving it a dimensional, textured look that flat prints simply can’t match. The multicolour palette stays vivid wash after wash, and the iron-on backing holds firm on denim, leather, and canvas.
Specifications
- Material: Polyester (appliqué embroidery)
- Technics: Handmade Appliqué
- Application: Iron-On (sew-on also possible)
- Eagle size: Approx. 27.5cm wide × 19.5cm tall (10.82" × 7.67")
- Letter strip size: Approx. 25.5cm wide × 6cm tall (10.03" × 2.36")
- Color: Multicolour
- Designs: NO.1 / NO.2
- Note: Due to handmade construction, size may vary ±0.3–0.5cm
How to Apply Your Patch
- Step 1: Position the patch on your garment where you want it
- Step 2: Place a thin cloth over the patch to protect it from direct heat
- Step 3: Press firmly with an iron at 120–150°C for 30–50 seconds
- Step 4: Remove the iron and let the patch cool completely before handling
- Step 5: If adhesion isn’t perfect, repeat steps 3 and 4
Pro tip: Finish with a few stitches around the edge for a permanent bond that will never come loose.
Only a few units of NO.1 remaining — choose your design and add to cart now.